Cottage Cheese Ice Cream (High Protein)
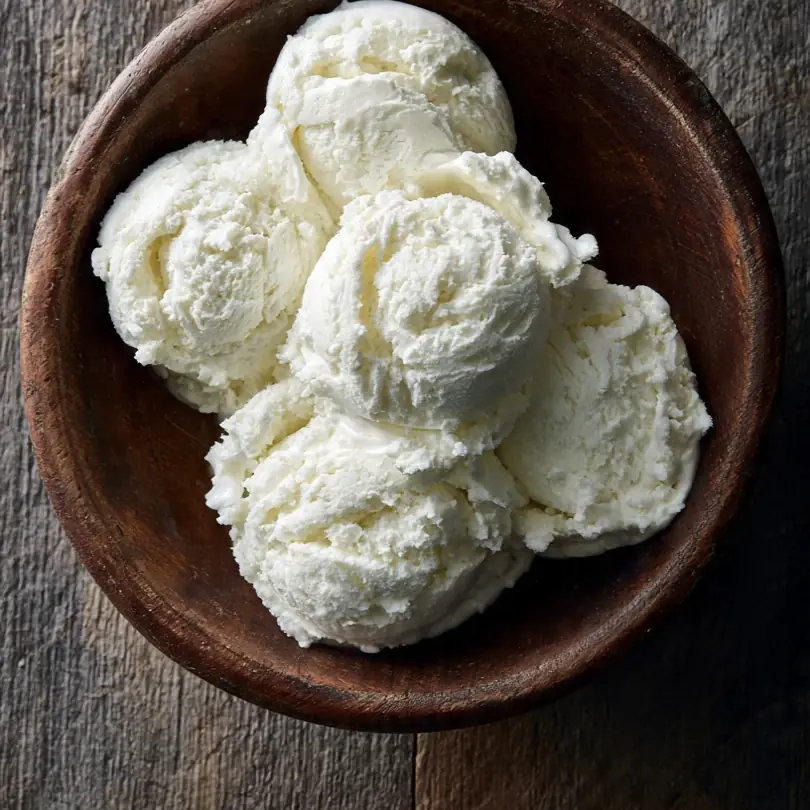
Welcome to my kitchen! Today, we’re diving into a delightful treat that’s become a firm favourite in my home: high-protein cottage cheese ice cream. This isn’t just another dessert; it’s a creamy, satisfying indulgence that truly nourishes.
I remember the first time I heard about making ice cream from cottage cheese. My initial thought was, “Surely not!” But as someone always looking for ways to boost nutrition without sacrificing flavour, I was intrigued. The idea of transforming a rather humble, savoury ingredient into something sweet and utterly luxurious felt like a culinary challenge I had to conquer. It took a few attempts, mind you, to get the texture just right, but the journey was absolutely worth it.
This recipe truly embodies what I love about home cooking – taking simple, wholesome ingredients and elevating them into something extraordinary, much like our Chipotle Chicken Burrito Bowl Copycat.com/chick-fil-a-coleslaw-copycat-recipe/”>Chick-Fil-A Coleslaw Copycat Recipe. Not only is it incredibly versatile, allowing for endless flavour combinations, much like a Viral Green Goddess Salad, but it also offers a fantastic boost of protein, making it a guilt-free pleasure after a workout or a smart dessert choice for the whole family. My husband, who’s usually picky about anything that sounds “too healthy,” actually asked for seconds when I served him the chocolate version!
Recipe Overview
- Prep Time: 10 minutes
- Freezing Time: 4-6 hours (or overnight)
- Total Time: 4 hours 10 minutes – 6 hours 10 minutes
- Servings: 4-6
- Difficulty: Easy
Why You’ll Love This Cottage Cheese Ice Cream (High Protein)
- Packed with Protein: A fantastic way to increase your daily protein intake without resorting to powders or bars, keeping you feeling fuller for longer.
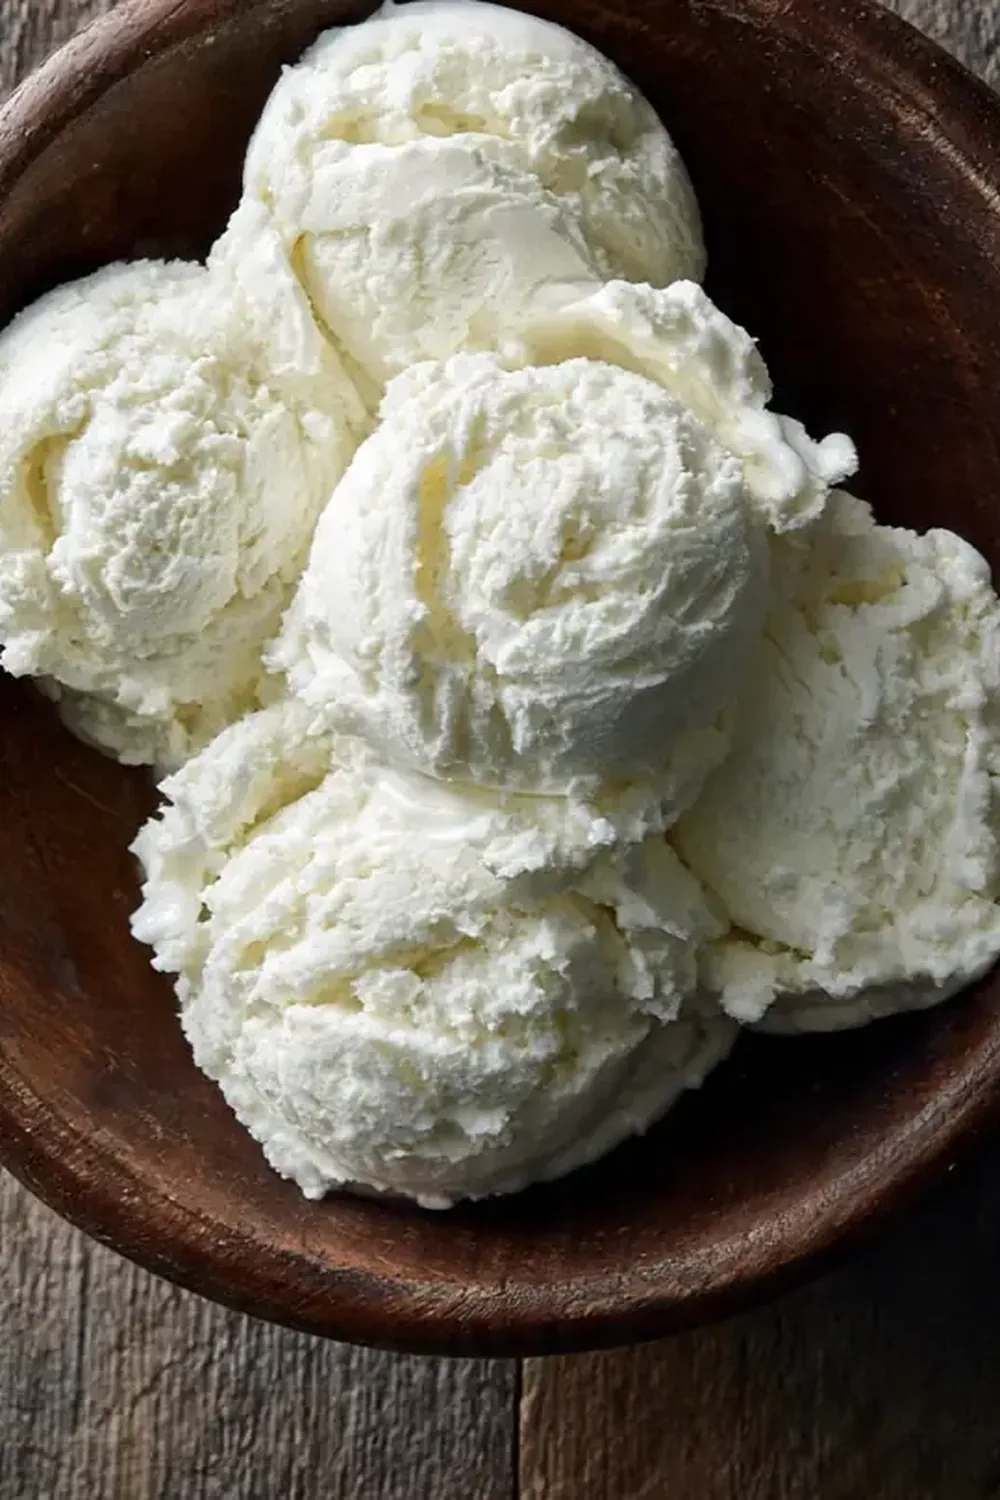
- Surprisingly Creamy Texture: Once blended, the cottage cheese transforms into an incredibly smooth, velvety base that rivals traditional ice cream.
- Customisable Flavours: This recipe is a blank canvas! You can easily adapt it to your favourite fruits, extracts, or chocolate, making it new every time.
- Reduced Sugar Option: By controlling your sweetener, you can create a delicious dessert that fits your dietary needs, often with less added sugar than shop-bought varieties.
- Simple Ingredients: Uses everyday items you likely already have in your fridge and pantry, making it an accessible treat to whip up any time.
Ingredients You’ll Need
- 500g full-fat cottage cheese
- 60ml milk (dairy or non-dairy, e.g., almond milk, oat milk)
- 60ml maple syrup or honey (adjust to taste)
- 1 teaspoon vanilla extract
- Pinch of fine sea salt
- Optional additions for flavour:
- 50g cocoa powder (for chocolate version)
- 100g fresh berries (strawberries, raspberries, blueberries)
- 2 tablespoons nut butter (almond, peanut)
- 50g chopped dark chocolate or chocolate chips
- 1/2 teaspoon almond extract (for nutty flavour)
- Zest of 1 lemon or orange
Tip: Using full-fat cottage cheese is key for the creamiest texture. Don’t be tempted to use low-fat; it won’t yield the same luxurious mouthfeel.
How to Make Cottage Cheese Ice Cream (High Protein)
- Prepare the Base: In a high-speed blender or food processor, combine the 500g full-fat cottage cheese, 60ml milk, 60ml maple syrup (or honey), 1 teaspoon vanilla extract, and a pinch of sea salt. The mixture should look quite lumpy at this stage, but don’t worry.
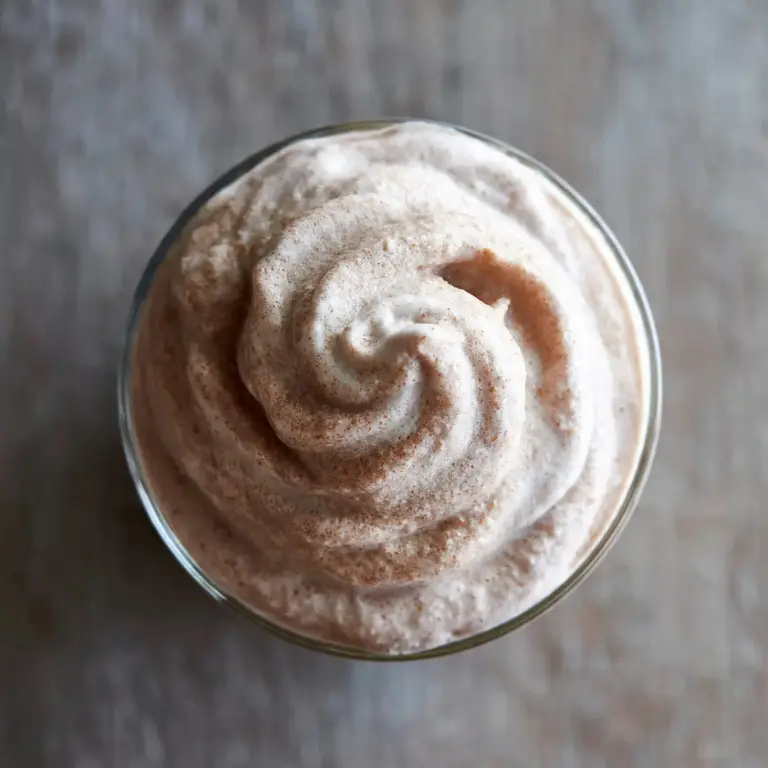
- Blend Until Smooth: Blend on high for 2-3 minutes, pausing to scrape down the sides with a spatula if needed. Continue blending until the mixture is utterly smooth and creamy, with no visible curds – it should resemble a thick, pourable custard. You’ll notice the sound of the blender changing as the texture refines, becoming a consistent, whirring hum.
- Add Your Flavourings (Optional): If adding cocoa powder, nut butter, or extracts, blend them in now until fully incorporated and the mixture takes on an even colour (e.g., a rich, dark brown for chocolate). If adding berries or chopped chocolate, stir them in gently after blending, reserving some for garnish if desired.
- Pour into Container: Pour the smooth cottage cheese mixture into a freezer-safe container. A loaf tin or a shallow plastic container with a lid works perfectly. The mixture should be a uniform, thick liquid.
- Initial Freeze: Place the container in the freezer for at least 2 hours. After this time, the edges will start to firm up, and the centre will be slushy.
- Stir and Freeze Again: Remove the container from the freezer. Stir the mixture vigorously with a spoon or whisk, breaking up any ice crystals forming around the edges and incorporating them back into the softer centre. This step is crucial for achieving that desirable creamy texture and preventing it from becoming too icy. The mixture will become slightly thicker and less liquid.
- Final Freeze: Return the container to the freezer for another 2-4 hours, or ideally overnight, until it’s firm enough to scoop, similar to traditional ice cream. It should feel solid to the touch but still yield slightly under pressure, and when you scoop it, it will have a satisfying resistance.
- Serve: Let the ice cream sit at room temperature for 5-10 minutes before scooping. This allows it to soften just enough to be easily scooped into bowls or cones, revealing its wonderfully smooth texture.
Tips From My Kitchen
- Use a Powerful Blender: The key to truly smooth cottage cheese ice cream is a high-speed blender or food processor. If your blender isn’t particularly powerful, you might need to blend for a little longer, perhaps adding a tiny splash more milk, to ensure all the curds are completely broken down. The ‘why’ here is simple: any remaining curds will result in a grainy texture, which isn’t what we want in ice cream.
- Don’t Skip the Stirring Step: The intermediate stirring during freezing (step 6) is vital. As the ice cream freezes, water molecules tend to form larger ice crystals. Stirring every couple of hours, especially during the first few hours, breaks up these crystals, resulting in a much smoother, creamier, and less icy final product. It’s the secret to that lovely, soft scoop.
- Adjust Sweetness to Your Taste: The amount of maple syrup or honey is a guideline. Taste the mixture before freezing and adjust to your preference. Remember that cold dulls sweetness slightly, so it might need to be a touch sweeter than you’d think initially. The ‘why’ is purely personal preference; some like it sweeter, others less so, and this allows for customisation.
- Flavourings Are Best Blended In (Mostly): For extracts, cocoa powder, or nut butter, blend them directly into the cottage cheese mixture to ensure even distribution. For chunkier additions like berries or chopped chocolate, stir them in after the initial blending. This prevents the blender from pulverising them too much, preserving their texture and distinct flavour notes.
- Pre-Chill Your Container: Placing your freezer-safe container in the freezer for 15-20 minutes before pouring in the mixture can help the ice cream freeze more evenly from the start. This minimises the temperature shock and can contribute to a slightly smoother freeze.
Equipment You’ll Need
- High-speed blender or food processor
- Spatula
- Freezer-safe container (e.g., loaf tin or shallow plastic container with lid)
- Measuring cups and spoons
Common Mistakes to Avoid
- Not blending enough: The biggest pitfall is leaving cottage cheese curds intact. Blend until the mixture is utterly silken and smooth, like a thick milkshake, for at least 2-3 minutes on high. If you don’t, you’ll end up with a grainy texture that lacks the luxuriousness of true ice cream.
- Using low-fat cottage cheese: While tempting for calorie reduction, low-fat cottage cheese has a higher water content and less fat, which is crucial for creaminess. It will result in a much icier, less satisfying ice cream. Stick to full-fat for the best results.
- Skipping the intermediate stirring: If you just pour and freeze without stirring, large ice crystals will form, making your ice cream hard and unpleasantly icy. The stirring (every 1-2 hours for the first 4 hours) helps break these up, ensuring a smooth, scoopable texture.
Delicious Variations to Try
- Chocolate & Raspberry Swirl: After blending the plain base, divide it in half. Blend one half with 50g cocoa powder. Swirl the plain and chocolate mixtures together in the freezer container, then gently fold in 100g fresh raspberries.
- Spiced Apple Crumble: Gently sauté 1 chopped apple with 1 teaspoon cinnamon and a touch of maple syrup until soft. Let it cool completely, then swirl into the blended cottage cheese base before freezing. You could even add a sprinkle of crushed digestive biscuits for a ‘crumble’ texture.
- Lemon & Blueberry Burst: Add the zest of 1 lemon and a splash of lemon juice to the base during blending. Once blended, gently fold in 100g fresh or frozen blueberries (no need to thaw).
What to Serve With Cottage Cheese Ice Cream (High Protein)
- A sprinkle of chopped nuts (almonds, walnuts)
- A drizzle of berry coulis or a light fruit sauce
- Fresh fruit slices (banana, kiwi, mango)
- A scattering of toasted coconut flakes
- A dollop of sugar-free whipped cream
Frequently Asked Questions
Cottage Cheese Ice Cream (High Protein)
Ingredients
Method
-
Prepare the Base: In a high-speed blender or food processor, combine the 500g full-fat cottage cheese, 60ml milk, 60ml maple syrup (or honey), 1 teaspoon vanilla extract, and a pinch of sea salt. The mixture should look quite lumpy at this stage, but don’t worry.
-
Blend Until Smooth: Blend on high for 2-3 minutes, pausing to scrape down the sides with a spatula if needed. Continue blending until the mixture is utterly smooth and creamy, with no visible curds – it should resemble a thick, pourable custard. You’ll notice the sound of the blender changing as the texture refines, becoming a consistent, whirring hum.
-
Add Your Flavourings (Optional): If adding cocoa powder, nut butter, or extracts, blend them in now until fully incorporated and the mixture takes on an even colour (e.g., a rich, dark brown for chocolate). If adding berries or chopped chocolate, stir them in gently after blending, reserving some for garnish if desired.
-
Pour into Container: Pour the smooth cottage cheese mixture into a freezer-safe container. A loaf tin or a shallow plastic container with a lid works perfectly. The mixture should be a uniform, thick liquid.
-
Initial Freeze: Place the container in the freezer for at least 2 hours. After this time, the edges will start to firm up, and the centre will be slushy.
-
Stir and Freeze Again: Remove the container from the freezer. Stir the mixture vigorously with a spoon or whisk, breaking up any ice crystals forming around the edges and incorporating them back into the softer centre. This step is crucial for achieving that desirable creamy texture and preventing it from becoming too icy. The mixture will become slightly thicker and less liquid.
-
Final Freeze: Return the container to the freezer for another 2-4 hours, or ideally overnight, until it’s firm enough to scoop, similar to traditional ice cream. It should feel solid to the touch but still yield slightly under pressure, and when you scoop it, it will have a satisfying resistance.
-
Serve: Let the ice cream sit at room temperature for 5-10 minutes before scooping. This allows it to soften just enough to be easily scooped into bowls or cones, revealing its wonderfully smooth texture.
Notes
And there you have it, a truly delightful and surprisingly simple way to enjoy a high-protein treat! I hope you’ll give this cottage cheese ice cream a try in your own kitchen. It’s a testament to how versatile and exciting home cooking can be, transforming everyday ingredients into something quite special. Do let me know in the comments below what flavour combinations you come up with – I’m always looking for new inspiration!