Kfc Original Fried Chicken Copycat
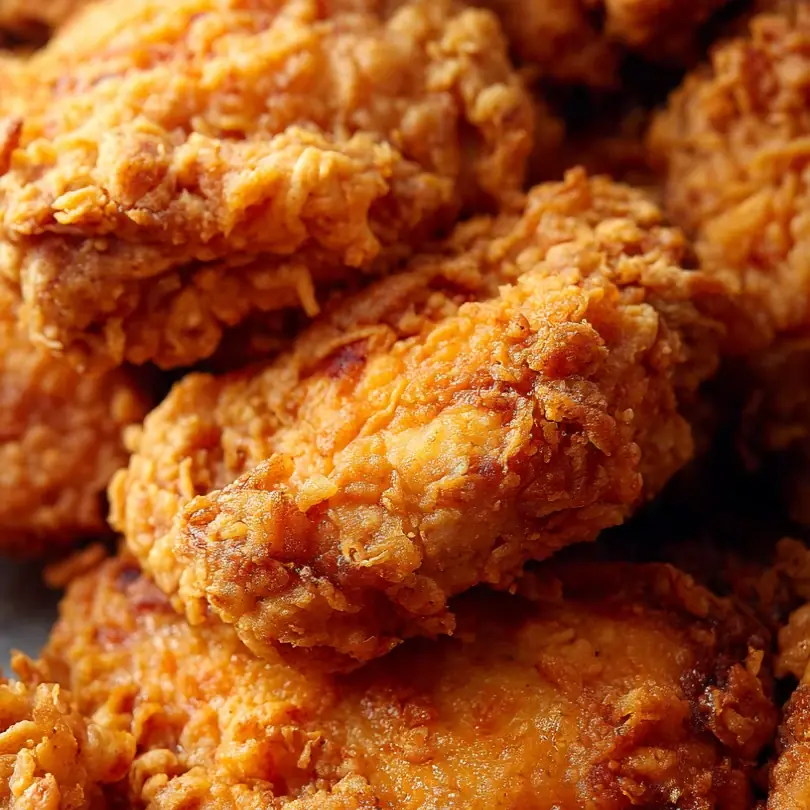
Welcome, fellow food lovers! Today, we’re diving into a recipe that holds a special place in my culinary heart: an authentic-tasting KFC Original Fried Chicken copycat. This isn’t just about recreating a takeaway favourite; it’s about bringing that familiar, irresistible flavour right into your home kitchen, a true testament to the joy of home cooking.
Recipe Overview
- Prep Time: 30 minutes (plus 2-4 hours marinating)
- Cook Time: 20-25 minutes
- Total Time: 2 hours 50 minutes – 4 hours 55 minutes
- Servings: 4-6
- Difficulty: Moderate
Why You’ll Love This KFC Original Fried Chicken Copycat
- Unmistakable Flavour Profile: We’ve worked meticulously to capture that signature blend of herbs and spices, resulting in chicken that truly tastes like the original.
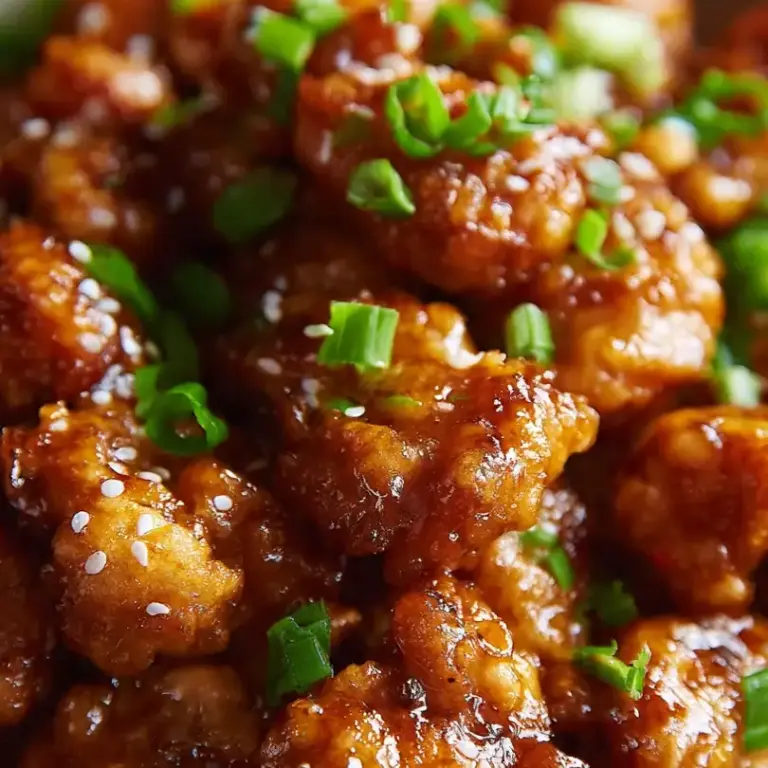
- Crispy, Golden Perfection: Each piece boasts a delightfully crunchy exterior and wonderfully tender, juicy meat inside, a textural delight with every bite.
- Home-Cooked Goodness: Preparing this at home means you control the quality of ingredients, ensuring a fresh and wholesome meal for your family and friends.
- Impressive & Satisfying: Serving up a batch of this fried chicken is always a hit; it brings a smile to everyone’s face and leaves them feeling thoroughly satisfied.
- Customisable Heat Levels: While we aim for the classic taste, the recipe allows for subtle adjustments if you fancy a touch more warmth, catering to your personal preference.
Ingredients You’ll Need
- 1.5 kg mixed chicken pieces (thighs, drumsticks, wings, breasts), bone-in and skin-on
- 500 ml buttermilk (or 500 ml whole milk with 1 tbsp lemon juice, left to curdle for 10 mins)
- 300 g plain flour
- 50 g cornflour (cornstarch)
- 2 tbsp smoked paprika
- 1 tbsp dried thyme
- 1 tbsp dried oregano
- 1 tbsp dried sage
- 1 tbsp garlic powder
- 1 tbsp onion powder
- 2 tsp ground ginger
- 2 tsp white pepper
- 1 tsp black pepper
- 1 tsp mustard powder
- 1 tsp celery salt
- 1 tsp salt (plus more for seasoning)
- 1/2 tsp cayenne pepper (optional, for a subtle kick)
- 1.5 – 2 litres vegetable oil or rapeseed oil, for deep frying
Tip: Sourcing fresh, good quality chicken makes all the difference here. Opt for free-range if possible; it really enhances the final taste and texture of the meat.
How to Make KFC Original Fried Chicken Copycat
- Prepare the Chicken and Marinade: Pat the chicken pieces thoroughly dry with kitchen paper. In a large bowl, combine the buttermilk. Add the chicken, ensuring each piece is fully submerged. Cover the bowl and refrigerate for at least 2 hours, or ideally 4 hours, to allow the chicken to tenderise and absorb the tangy flavour. You’ll notice the buttermilk thickening slightly and coating the chicken with a creamy texture.
- Create the Herb and Spice Blend: In a wide, shallow dish or a large freezer bag, combine the plain flour, cornflour, smoked paprika, dried thyme, dried oregano, dried sage, garlic powder, onion powder, ground ginger, white pepper, black pepper, mustard powder, celery salt, salt, and cayenne pepper (if using). Whisk or shake until all the spices are evenly distributed, creating a fragrant, pale orange-tinged flour mix.
- Dredge the Chicken: Remove the chicken from the buttermilk, allowing any excess to drip off gently. Do not rinse. Working one piece at a time, dredge the chicken thoroughly in the seasoned flour mixture. Press the flour onto the chicken firmly to ensure a thick, even coating. You want to see a shaggy, craggy texture forming, which will become our crispy crust. Place the coated chicken on a wire rack set over a baking tray while you coat the remaining pieces.
- Heat the Oil: Pour the vegetable or rapeseed oil into a large, heavy-bottomed frying pan or a deep cast-iron pot. The oil should be deep enough to cover at least half of the chicken pieces. Heat the oil over medium-high heat until it reaches 175°C (350°F). You can test the temperature with a kitchen thermometer, or by dropping a tiny pinch of flour into the oil – it should sizzle immediately but not burn. You’ll notice a faint, almost sweet scent from the hot oil.
- Fry the Chicken (First Batch): Carefully lower 2-3 pieces of coated chicken into the hot oil, ensuring not to overcrowd the pan. Listen for the satisfying sizzle as the chicken hits the oil. Fry for about 6-8 minutes per side, turning occasionally with tongs, until the coating turns a deep golden brown and sounds wonderfully crisp when gently tapped. The internal temperature should reach 74°C (165°F). You might see small bubbles vigorously dancing around the chicken.
- Finish Frying and Rest: Once golden and cooked through, carefully remove the chicken from the oil and place it back on the wire rack over the baking tray to drain any excess oil. This allows the heat to redistribute and the crust to remain crisp. Repeat with the remaining chicken, ensuring the oil temperature returns to 175°C (350°F) between batches. Let the chicken rest for 5 minutes before serving, allowing the juices to settle for maximum succulence.
Tips From My Kitchen
- The Buttermilk Soak is Non-Negotiable: Don’t skip the buttermilk soak, or shorten it too much! This acidic marinade works wonders on the chicken. The lactic acid in the buttermilk tenderises the meat proteins without making them tough, resulting in incredibly juicy and moist chicken. It also helps the seasoned flour adhere better, creating a thicker, crispier crust. Friends always ask me for this recipe after trying it at dinner parties, and the buttermilk is always my first tip.
- Season Your Flour Generously: The magic of this copycat recipe lies in the seasoning blend. Don’t be shy with the spices in your flour mixture. Ensure every ingredient is well combined and evenly distributed. This is where all the flavour comes from, so a thoroughly seasoned coating ensures every bite is bursting with that iconic taste. Think of it as building layers of flavour from the outside in.
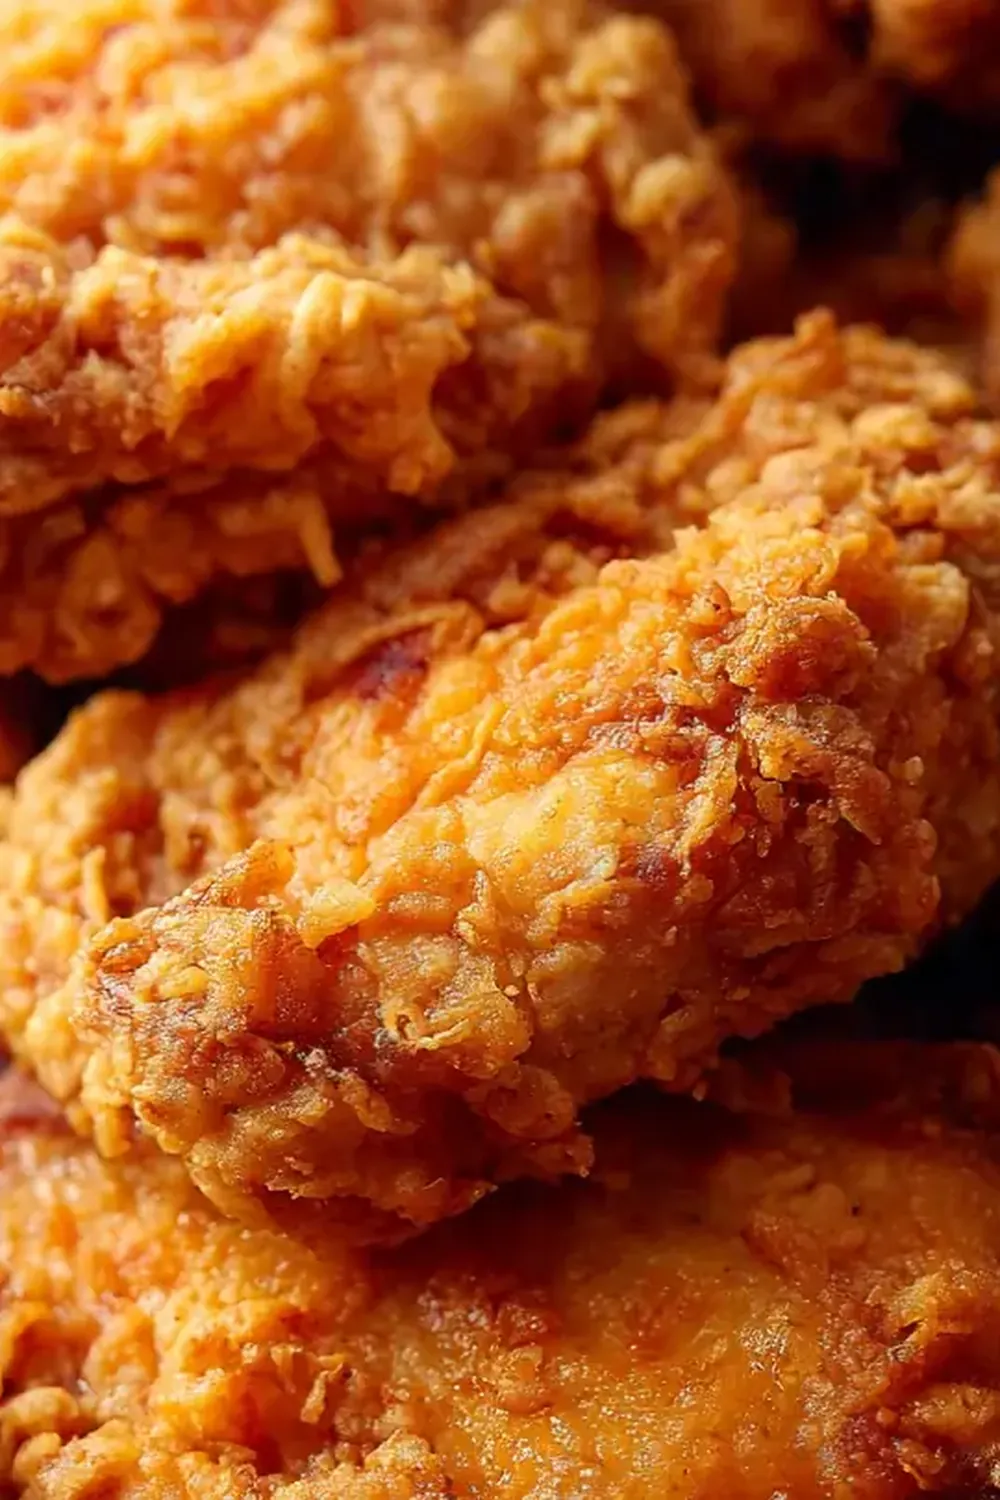
- Achieve the “Shaggy” Coating: When dredging the chicken, press the flour mixture onto each piece firmly. You want to create a visibly thick, almost shaggy or craggy coating. This isn’t just for aesthetics; these nooks and crannies become incredibly crispy and provide more surface area for that delightful crunch once fried. It’s what gives proper fried chicken its distinctive texture.
- Maintain Consistent Oil Temperature: This is crucial for evenly cooked, crispy chicken without a greasy interior. If the oil is too cool, the chicken will absorb too much oil and become soggy. If it’s too hot, the outside will burn before the inside cooks through. Use a thermometer to keep the oil consistently around 175°C (350°F), adjusting the heat between batches. After testing this recipe five times, I finally got it just right by focusing on this detail.
- Don’t Overcrowd the Pan: Resist the temptation to fry too many pieces of chicken at once. Overcrowding the pan drastically drops the oil temperature, leading to greasy, poorly cooked chicken. Fry in small batches, typically 2-3 pieces at a time, to maintain that optimal oil temperature and ensure each piece gets enough space to crisp up beautifully. Patience here truly pays off.
Equipment You’ll Need
- Large frying pan or skillet (or deep pot for frying)
- Sharp knife and cutting board
- Mixing bowls
- Wooden spoon or spatula
- Kitchen tongs
- Wire rack and baking tray
- Kitchen thermometer (optional, but highly recommended for oil)
Common Mistakes to Avoid
- Overcrowding the pan: This is a common pitfall. When you add too many chicken pieces to the oil at once, it drastically lowers the oil’s temperature. This prevents the chicken from crisping up properly and leads to a greasy, soggy crust. Always fry in small batches, leaving plenty of space between pieces, to maintain a consistent oil temperature and achieve that desired crispness.
- Wrong temperature: Frying at the incorrect temperature is detrimental. If the oil is too cold (below 170°C/340°F), the chicken will absorb too much oil, resulting in a heavy, greasy texture. If it’s too hot (above 185°C/365°F), the exterior will burn quickly while the interior remains undercooked. Aim for a steady 175°C (350°F) using a kitchen thermometer for the best results.
- Skipping the rest time: While it’s tempting to dive straight into this delicious chicken, allowing it to rest for 5-10 minutes after frying is crucial. This resting period allows the juices within the chicken to redistribute evenly throughout the meat, ensuring every bite is moist and tender. Skipping this step can lead to dry chicken, as the juices will simply run out when you cut into it.
Delicious Variations to Try
- Spicy Version: For those who love a bit of heat, simply increase the amount of cayenne pepper in the flour mixture to 1-2 teaspoons, or add a pinch of dried chilli flakes. You could also introduce a quarter teaspoon of smoked chilli powder for a deeper, fiery note.
- Vegetarian/Vegan Option: This recipe adapts wonderfully for plant-based alternatives. Instead of chicken, use thick slices of firm tofu (pressed well), seitan, or large oyster mushrooms. For the buttermilk, use a plant-based milk (like oat or soy) mixed with a tablespoon of apple cider vinegar, and ensure your oil is suitable for frying.
- Different Protein: While chicken is traditional, this seasoning and frying method works beautifully with other proteins. Try it with turkey tenderloins cut into pieces, or even thick-cut boneless beef steaks for a more substantial meal. Ensure to adjust cooking times based on the thickness and type of protein used.
What to Serve With KFC Original Fried Chicken Copycat
- Creamy mashed potatoes with a rich gravy
- Tangy coleslaw or a fresh green salad
- Crispy corn on the cob or sweetcorn fritters
- Fluffy dinner rolls or warm cornbread
- A side of Chipotle Cilantro Lime Rice Copycat for a zesty accompaniment
Frequently Asked Questions
KFC Original Fried Chicken Copycat
Ingredients
Method
- Prepare the Chicken and Marinade: Pat the chicken pieces thoroughly dry with kitchen paper. In a large bowl, combine the buttermilk. Add the chicken, ensuring each piece is fully submerged. Cover the bowl and refrigerate for at least 2 hours, or ideally 4 hours, to allow the chicken to tenderise and absorb the tangy flavour. You’ll notice the buttermilk thickening slightly and coating the chicken with a creamy texture.
- Create the Herb and Spice Blend: In a wide, shallow dish or a large freezer bag, combine the plain flour, cornflour, smoked paprika, dried thyme, dried oregano, dried sage, garlic powder, onion powder, ground ginger, white pepper, black pepper, mustard powder, celery salt, salt, and cayenne pepper (if using). Whisk or shake until all the spices are evenly distributed, creating a fragrant, pale orange-tinged flour mix.
- Dredge the Chicken: Remove the chicken from the buttermilk, allowing any excess to drip off gently. Do not rinse. Working one piece at a time, dredge the chicken thoroughly in the seasoned flour mixture. Press the flour onto the chicken firmly to ensure a thick, even coating. You want to see a shaggy, craggy texture forming, which will become our crispy crust. Place the coated chicken on a wire rack set over a baking tray while you coat the remaining pieces.
- Heat the Oil: Pour the vegetable or rapeseed oil into a large, heavy-bottomed frying pan or a deep cast-iron pot. The oil should be deep enough to cover at least half of the chicken pieces. Heat the oil over medium-high heat until it reaches 175°C (350°F). You can test the temperature with a kitchen thermometer, or by dropping a tiny pinch of flour into the oil – it should sizzle immediately but not burn. You’ll notice a faint, almost sweet scent from the hot oil.
- Fry the Chicken (First Batch): Carefully lower 2-3 pieces of coated chicken into the hot oil, ensuring not to overcrowd the pan. Listen for the satisfying sizzle as the chicken hits the oil. Fry for about 6-8 minutes per side, turning occasionally with tongs, until the coating turns a deep golden brown and sounds wonderfully crisp when gently tapped. The internal temperature should reach 74°C (165°F). You might see small bubbles vigorously dancing around the chicken.
- Finish Frying and Rest: Once golden and cooked through, carefully remove the chicken from the oil and place it back on the wire rack over the baking tray to drain any excess oil. This allows the heat to redistribute and the crust to remain crisp. Repeat with the remaining chicken, ensuring the oil temperature returns to 175°C (350°F) between batches. Let the chicken rest for 5 minutes before serving, allowing the juices to settle for maximum succulence.
Notes
There you have it, my comprehensive guide to creating truly exceptional KFC Original Fried Chicken right in your own kitchen. I truly hope you enjoy making this recipe as much as I do, and that it brings a little bit of that special takeaway joy to your dinner table. Do let me know in the comments below if you give it a try or if you have any of your own secret tips!